How To Make Great DIY Swim Films – Top Tips #5
Register to get 3 free articles
Want unlimited access? View Plans
Already have an account? Sign in
Week Five – Editing
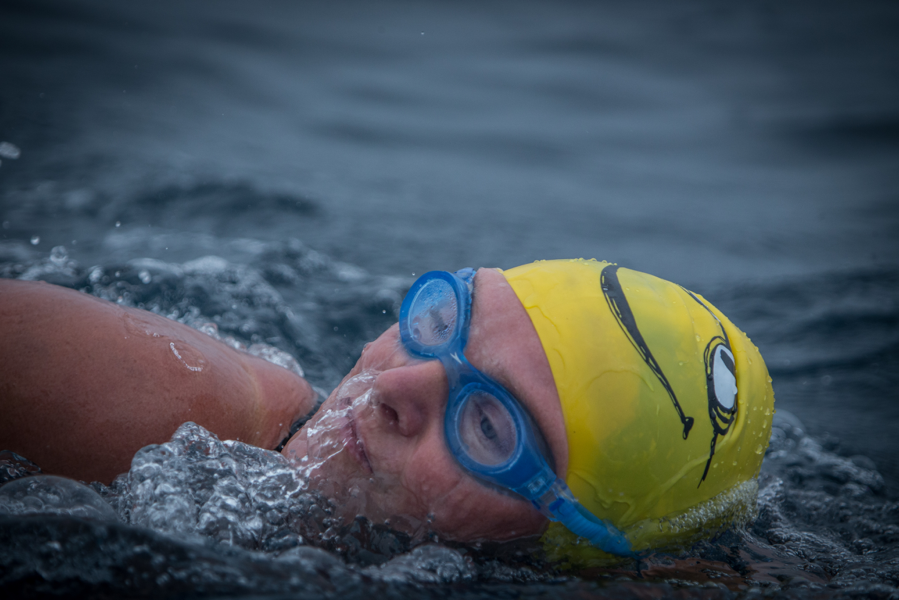
Stefan Stuckert is the BAFTA-nominated director of ‘Oceans 7’, a feature documentary about the open-sea swimmer Beth French and her extraordinary challenge to swim across the world’s seven toughest sea-channels in a single year.
‘How To Make Great DIY Swim Films’ is a series of six blogs with some of Stefan’s top filmmaking tips. This week it’s all about editing.
From the birth of cinema in the 19th century until the 1990s, editing was mainly done by cementing or splicing pieces of film together. For the last 25 years this process has been revolutionised by digital editing.
1. Software
So, it’s time to decide on a basic editing software. If you work on a Mac, I’d go for Apple’s free iMovie. If you’re on a PC you may have to invest; I would recommend Adobe Premiere Elements (approximately £86).
2. Import rushes and edit
Import all your video and audio clips – the rushes – into a new project that matches your camera settings, for example: 1080p (Full HD) in 25 frames per second.
It’s a good idea to log, label and sort your rushes. Then create an edit folder and start editing by selecting the individual shots you like best.
You’ll work with two monitors, a player monitor for the rushes and a record monitor for the sequence you’re editing. Pull the shots you want to use into the player monitor, trim each shot to where you want to start and stop, then edit it into a sequence.
Don’t be put off by the many menus and buttons of the software; it just takes a little patience and ‘getting used to’. Start slowly and Google for help or tutorials. And remember that the more you do it, the better and faster you get and the more fun it’ll be.
3. Structure
The true art of editing is building a strong narrative arch that builds towards a climax.
So, for example, in a short film about a swim in November the most dramatic point might be the moment when the swimmer enters the cold water. So, building tension towards that point is crucial. Highlight the season: it’s winter and there are no leaves on the trees. The swimmer is dressed warmly. He shivers as he undresses. He wears swimming trunks, no wetsuit. Every image and sound you select for this section in the film should underline the fact that it’s cold and that entering the water takes courage.
Show the swimmer’s face, the short sharp inhalations and the exhilaration as he steps into the water and starts swimming. Focus on the first strokes and the process of adjustment as the body gets used to the water temperature.
Timewise, spend roughly two thirds of your film getting to the climax and one third for the rest of the film.
4. Music
Some sequences in the film might benefit from the use of music; try out different pieces before deciding on the one that feels best. It’s unlikely your film will be used commercially, so you probably don’t have to be too concerned about copyright restrictions.
That’s it for now. I hope you find these tips helpful. Next week, I’ll talk some more about audio editing as well as exporting the finished film.
Jonathan Cowie
Jonathan Cowie is our former editor. He is a year-round skins swimmer with a particular love of very cold water. He has competed in ice swimming competitions around the world. He is a qualified open water coach with a particular love of introducing new swimmers to the open water.