Try these straightforward tubing sessions to improve your technique and keep you swim fit
These full body tubing workouts from Paul Fowler and Stefan Lawrence from 100% Tri are designed to keep you swim fit during lockdown
What is tubing?
Tubing sessions are essentially swim-specific bodyweight workouts using resistance bands. The benefit of incorporating tubing into your strength training is that you can build flexibility and strength, but also work at tempo. Adding tubing sessions into your strength programme is seen as a massive “must do” because of these benefits.
We recommend no more than three short sessions per week. Any more than this and you may prevent your muscles from having adequate recovery aiding repair and recovery.
What do you need?
For tubing you need a resistance band (or tube) ideally with a light resistance – you can buy these easily online. You will also need something to wrap the resistance band around – see video below.
A few things to consider before incorporating tubing sessions into your strength training.
Follow these instructions to ensure you are tubing effectively. Also see the video below for more guidance.
1. Setting the high elbow position
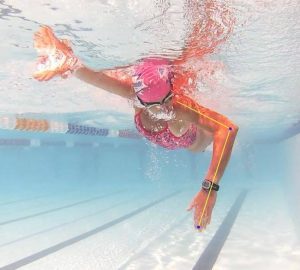
Correct form means everything. Developing good form, flexibility and strength required for a high elbow can be best achieved out of the water using tubing.
Place your hand on the roller under the strap. Hold hands flat and open with straightened fingers, no cupping of the hands. Raise your upper arm to shoulder height and arc 3-4 inches wider than lateral side of the body line to position slightly wider than shoulder width. Rotate/twist upper arm to shoulder (shrug) so elbow points up. Extend forward by reaching with the muscles that attach to the scapula. Keep your wrist straight and flush with the forearm, bend at the elbow to direct forearm and fingers down.
2. Pulling back
Press back with the forearm and hand, fingers pointing toward the ground simulating the high elbow catch. As the hand/forearm passes under your head the diagonal phase begins. Squeeze your upper arm toward your arm pit as if squeezing a balloon. As upper arm squeezes, pitch your hand/forearm 5 degrees inward to direct under your body. Your elbow remains pointed out, with your upper arm outside the lateral edge of the body. Once your hand passes under the belly button, the finish phase requires that you pitch 5 degrees outwards to direct your hand toward your hip. Straighten elbow/ arm at finish but do not lock out.
3. Recovery
After finishing the pull return your hand/forearm to the starting position via a low route. Do not simulate the overwater recovery phase of the freestyle stroke.
4. Good form
• Fingertips point down toward the ground at the start of the pull.
• You must not bend your wrist, keep the wrist straight and flush with the forearm throughout the entire front phase of the stroke.
• Keep the upper arm raised and extended forward (jut the scapula forward and medially rotate the shoulder towards the chin and cheek).
• During the first third of the pull keep upper arm parallel to the ground – elbow same height as shoulder.
• Once you reach 1/3 the way through the pull, the upper arm naturally angles 45 degrees downward with the elbow pointed away from the body.
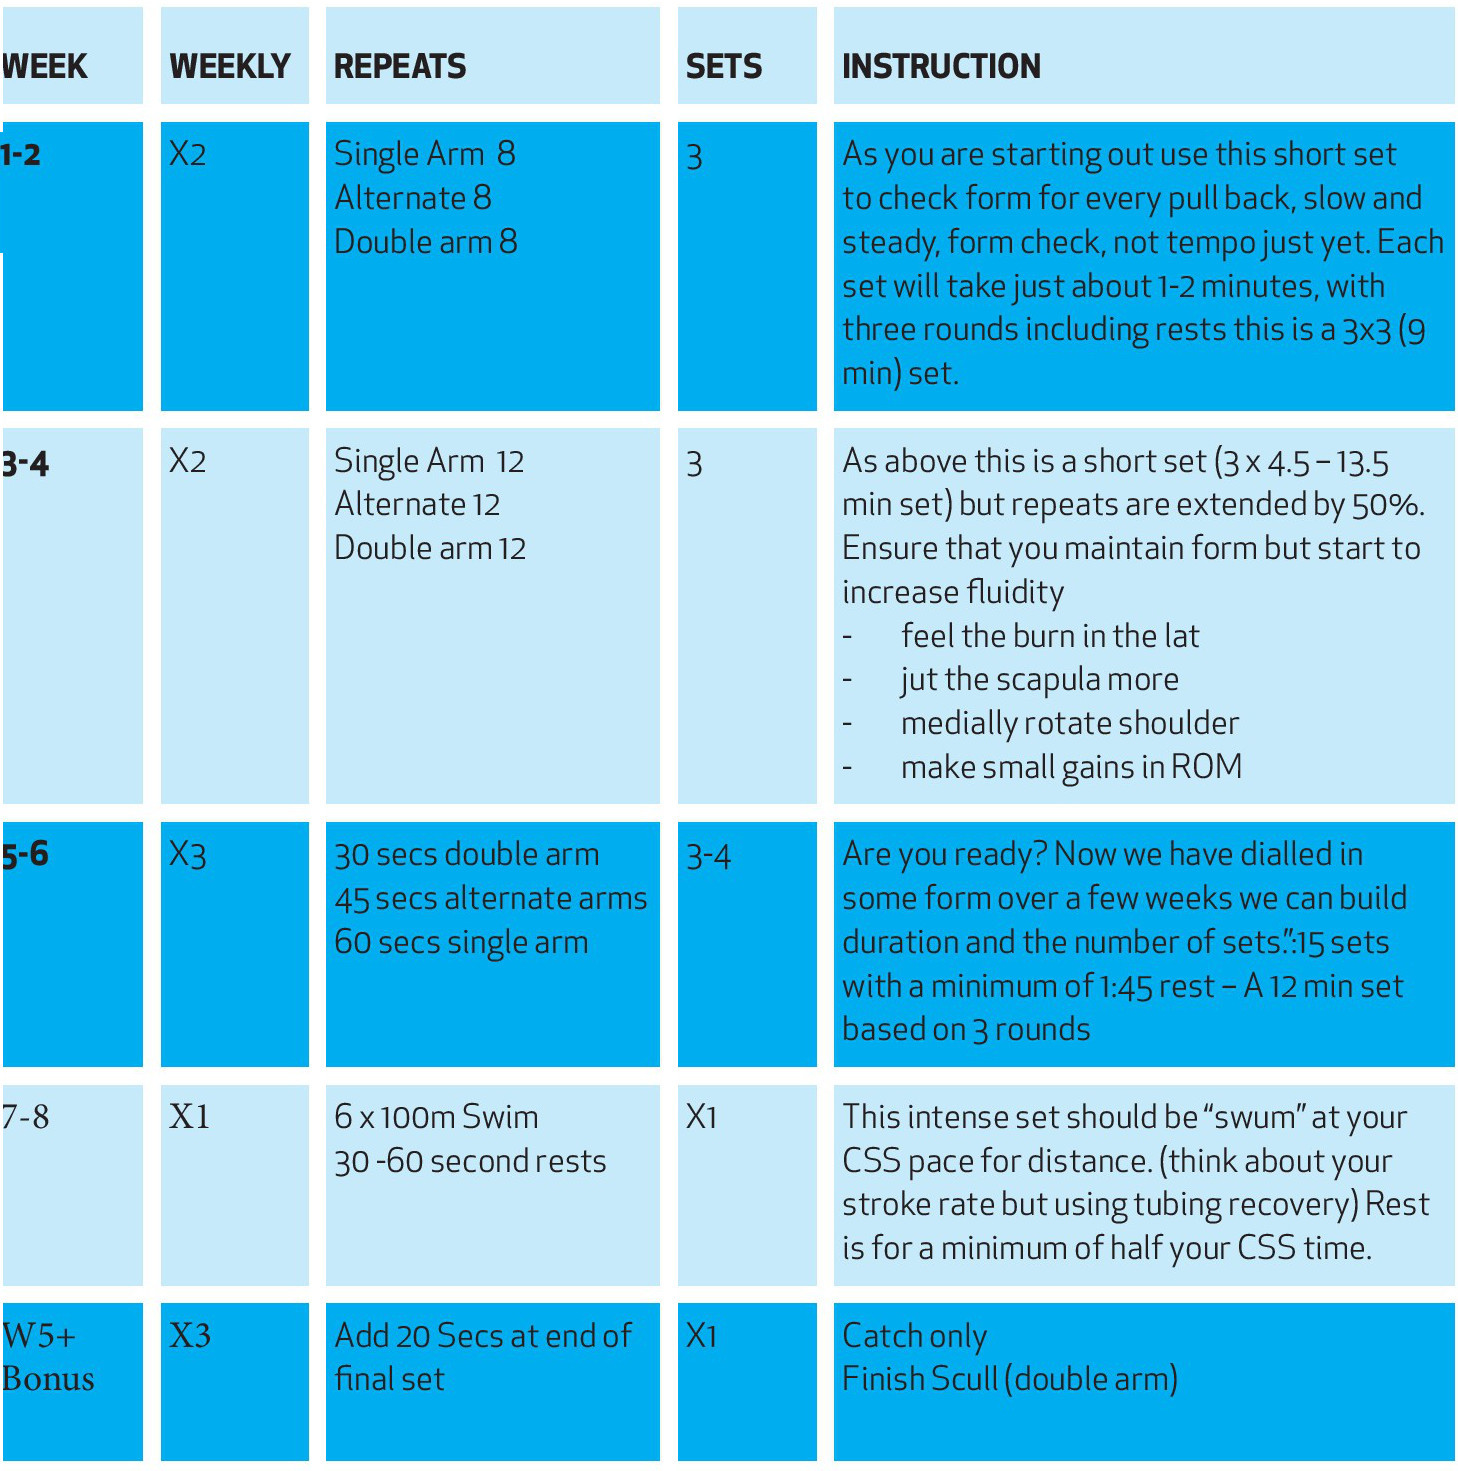
Once you have the technique nailed, you’re ready to try to following tubing sets:
Depending upon your current level of fitness and available time, these sessions can be completed in part or in whole. Whichever option you choose, we recommend that your sessions start with a quick stretching warm up to prevent injury.
When following this session please read through the notes and watch the video instruction resource below.

Extending your Tubing activity: Tubing sets can be extended up to 15 minutes duration. Typically sets might include: 7 x 2 min, 3 x 5 min efforts. You can even borrow “repeat” elements of your favourite swim sets and replicate those for interest. All tubing sets should place a very high emphasis on correct technique mantra; chase form, not speed.


