
Taking your training outside – getting used to the open water
Register to get 3 free articles
Want unlimited access? View Plans
Already have an account? Sign in
It’s that time of year (at least, from a UK perspective) when many of us are keen to start training outside. The catch is, for most swimmers, the water is still too cold to cover any serious distances so training outside in late April and early May is primarily about acclimatisation, getting used to a wetsuit (if you use one), adjusting to natural conditions and learning or refreshing open water skills.
We recommend, especially if you’re new to open water swimming, that you do your outdoor training swims at a recognised supervised venue or with an established group. Yes, you may have to pay to swim at a supervised venue but you benefit from having safety cover, assurances about the water quality and, usually, changing facilities.
These sessions should help you acclimatise and get used to swimming outside.
Preparation
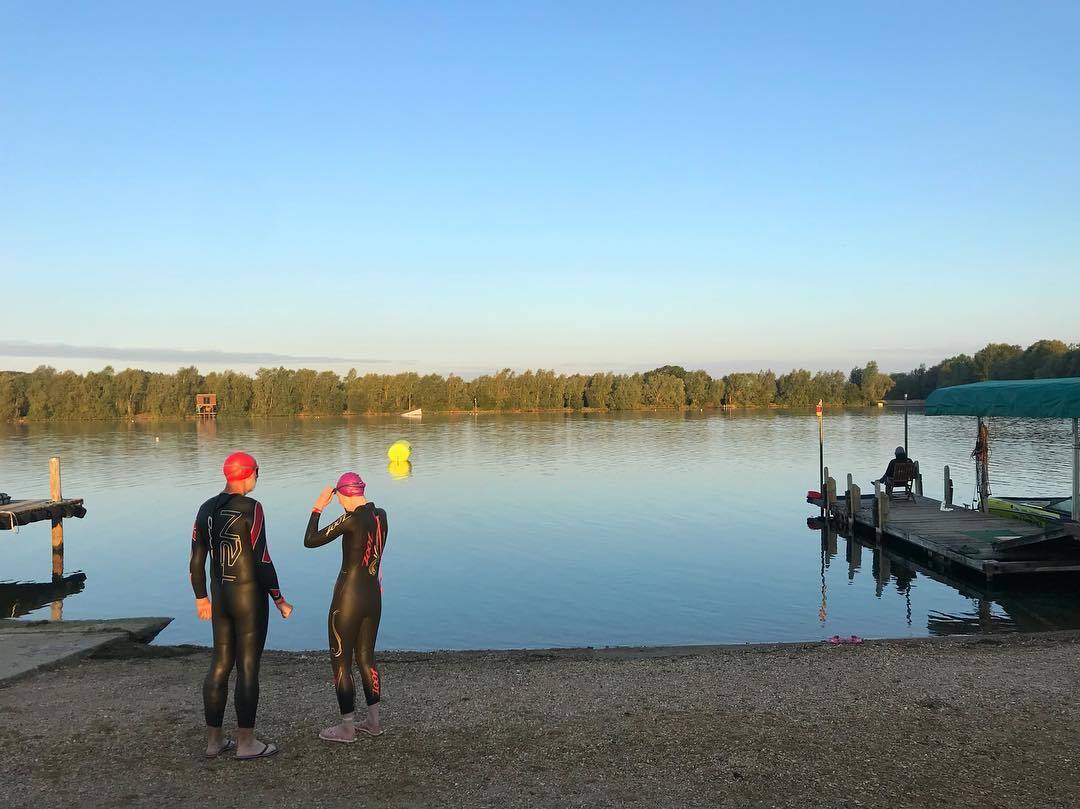
Eat well in advance of your swim and arrive with plenty of time to register and change. Stay warm and dry while changing and follow our guide in the May 2019 issue of Outdoor Swimmer magazine to put your wetsuit on properly. If not wearing a wetsuit, put your swimming costume on at home under your clothes to minimise time standing around half-dressed. Consider wearing a neoprene hat under your swimming cap and bring a pair of flip flops. Do some gentle mobility exercises to warm up (e.g. arm swims and leg swings), but don’t overdo it.
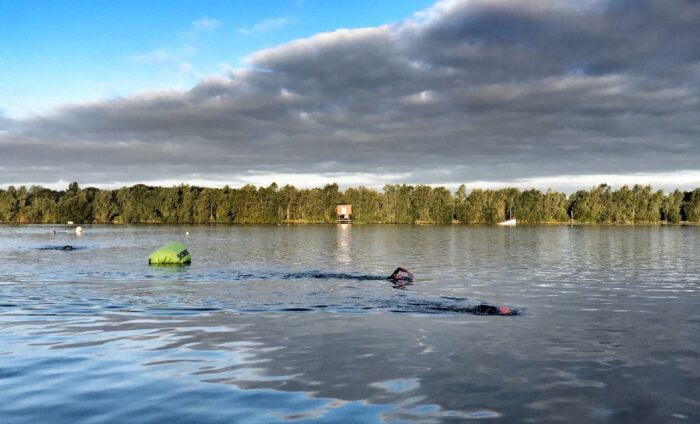
Enter the water
Take your time – but not too long! There’s a balance between creeping in so slowly that you get cold before you start swimming and too quickly resulting in cold water shock. If you’re not used to it, cold water can make your feet and hands hurt, especially if you’re wearing a wetsuit. Don’t worry. The pain will ease. It might help to put your hands in first and splash water on your face and neck. When you’re ready, immerse yourself up to your neck. It’s best to stay within your depth at this stage. If you’re not wearing a wetsuit, you will cool down more quickly, so it’s not a good idea to spend a lot of time half in and half out of the water. Try to get in quickly and purposefully but don’t jump or dive unless you are very experienced. You may find you that cold water shock causes your breathing rate to increase and you may feel a sense of panic. Try to relax and float on your back until you feel more comfortable. Roll on to your front and experiment with putting your face in the water. Again, this may hurt initially but it will also get better after a few minutes.
Swim
Start to swim only when you feel ready. Pick a target distance compatible with your swimming experience. If it’s your first time, maybe aim for something 20 metres away. Swim to it, pause to assess how you’re feeling and either return to your entry point or swim a little further. Even if you’re more experienced, make your first loop a short one – 200m is plenty.
While swimming, notice how different it feels in a wetsuit, if you’re wearing one. For your first time simply enjoy being in the water and note if you’ve changed how you normally swim – you may have stopped kicking for example. Without a wetsuit, cold water can also make swimming feel different. This is normal so try to relax and not worry about it.
Get out!
Regardless of how good it feels, get out of the water after 20 minutes at most. If it’s very cold, 10 minutes will be plenty. You can swim for longer another time but you need to learn through experience how well your body tolerates cold water. Dress immediately, starting from your head down. Keep out of the wind. Your core body temperature will continue to fall after exiting the water and you may begin to shiver, especially if you didn’t wear a wetsuit. Do not attempt to drive until you have warmed up again.
Progress
As you become more acclimatised you will find it easier to get in and you can swim for longer. Use the focus points below for your first few sessions as you get used to open water. We will look at more advanced training options for open water in a future issue.
Week 1: 20 minutes. Focus on how swimming feels different in open water and try to work out if you naturally swim straight or veer off to one side or the other
Week 2: 30 minutes. Focus on sighting (i.e. lifting your head to see where you’re going). Try sighting after 2, 3, 5 or 10 strokes and see what difference it makes to how straight you swim.
Week 3: 40 minutes. Experiment with different breathing patterns this week. Try breathing every two strokes, but switch sides every 50m or so, try bilateral (every 3 or 5) and mixed (e.g. 2-3-2-3).
Week 4: 50 minutes. Add some pace variation this week. Swim as 10 minutes steady, 10 minutes at 1-mile race pace, 10 minutes steady, 10 minutes 1-mile race pace and 10 minutes recovery.
A word of warning
The water temperature in April and May can still be low, and can go up or down, so just because you’ve swum for 30 minutes one week does not necessarily mean you’ll be able to the next. You don’t need to swim for 40 minutes just because you read it in Outdoor Swimmer. Use our suggestions as guidance only. Choose your time limits according to the conditions and your experience.
See also our guide to open water safety
Simon Griffiths
I started Outdoor Swimmer in 2011 (initially as H2Open Magazine) as an outlet for my passion for swimming outdoors. I've been a swimmer and outdoor swimmer for as long as I remember. Swimming has made a huge difference to my life and I want to share its joys and benefits with as many people as possible. I am also the author of Swim Wild & Free: A Practical Guide to Swimming Outdoors 365 a Year, I provide one-to-one support to swimmers through Swim Mentoring and I'm the creator of the Renaissance Swimmer project.